How To Test A Motherboard Without A Cpu – A Complete Guide!
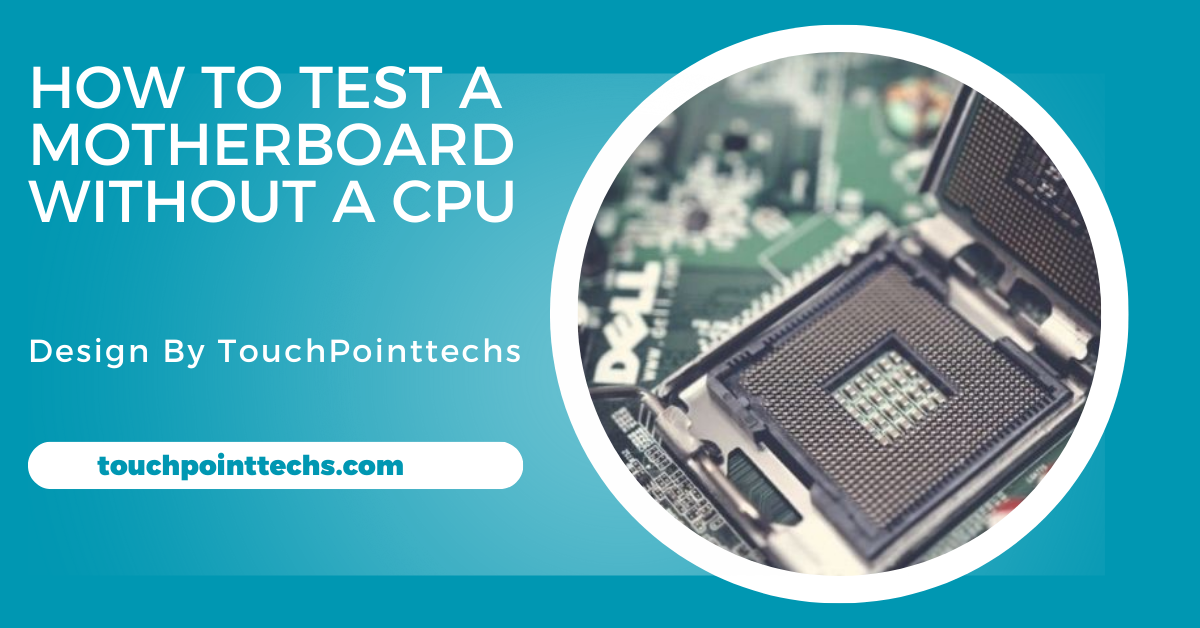
To test a motherboard without a CPU, connect a power supply, use a screwdriver, and check LED indicators and beep codes for functionality.
This guide will explain why you might need to test a motherboard without a CPU, how to do it safely, and what tools you’ll need. Follow these simple steps to understand if your motherboard is working before investing in a new CPU.
Table of Contents
Why Test a Motherboard Without a CPU?
Testing a motherboard without a CPU can reveal basic issues such as faulty power connections or damaged circuits. While a motherboard’s full capabilities can’t be tested without a CPU, you can still perform preliminary tests to confirm that power reaches the board and that it’s in working order. This can save time and effort, especially if you’re troubleshooting and aren’t sure if the motherboard is the root cause.
Tools Needed for Testing:
Testing a motherboard without a CPU requires some simple tools:
- Power Supply Unit (PSU): Needed to power the motherboard.
- Screwdriver: For jump-starting the motherboard (acting as a power switch).
- Speaker (Optional): Some motherboards have small built-in speakers for beep codes.
- Antistatic Wristband (Optional): This reduces the risk of damaging sensitive components from static electricity.
Using these tools carefully will help ensure you don’t accidentally damage your motherboard.
Preparing the Motherboard:
Find a Safe Place:
Place your motherboard on a static-free surface like an antistatic mat to avoid short circuits or static damage. A non-metallic surface also works if an antistatic mat isn’t available. Ensuring a safe environment is essential for motherboard testing, as it prevents accidental damage. Proper setup creates a stable testing area that’s less likely to affect the motherboard’s functionality.
Remove Unnecessary Parts:
Disconnect any non-essential components like RAM, storage drives, and graphics cards. This approach allows you to focus solely on the motherboard and reduces the risk of unrelated issues during testing. Removing extra parts streamlines the process, making it easier to isolate potential motherboard problems. By limiting connected parts, you simplify the testing setup, ensuring a clearer view of the motherboard’s condition
Connect the Power Supply:
Connect the 24-pin power connector from the power supply unit (PSU) to the motherboard. This connection provides the essential power needed for basic testing. Ensuring a firm connection helps prevent power interruptions, which could cause misleading test results. The 24-pin connector alone is sufficient to verify the motherboard’s ability to receive and signal power, showing if it’s in working condition.
Optional Connections:
Leave the 4 or 8-pin CPU power connector disconnected, as it isn’t necessary without a CPU. With no CPU installed, leaving this connector empty prevents interference in the motherboard’s power distribution. Skipping this connection lets you focus on indicators like LEDs or beeps, ensuring that power and startup signals can be tested effectively without potential confusion from the CPU connection.
Testing the Motherboard Using LEDs and Beeps:
Power On the Motherboard:
To start testing, turn on the power supply and monitor the motherboard’s response. Many motherboards have LED lights that indicate power connectivity. These lights, often near the 24-pin connector, confirm that the motherboard is receiving power. If these LEDs light up, it’s a positive sign that the motherboard is getting power correctly.
Listen for Beep Codes:
Motherboards usually emit beep codes to signal their status. Connect a speaker to the motherboard if it doesn’t have one built-in, then listen for beeps when powered on. Beep codes vary by manufacturer but can indicate issues with components like RAM, GPU, or power supply. Understanding these codes helps in identifying motherboard problems or confirming functionality.
Observe the LED Status Indicators:
Many modern motherboards feature diagnostic LEDs for components like RAM, CPU, and storage. These LEDs light up to indicate issues or faults. Even without a CPU, these LEDs can provide insight into the motherboard’s condition. Pay attention to any illuminated LEDs, as they may pinpoint which areas require further testing or troubleshooting.
Monitor for Fan Spin:
If your motherboard has built-in cooling, check to see if the fan spins when powered on. Although not a definite indicator of full functionality, fan movement suggests the motherboard is supplying power to connected components. It’s a good sign that the power pathways are active and the motherboard is functioning at a basic level.
Testing the Power Supply:
If your motherboard isn’t showing any lights or emitting beeps, the issue may lie with the power supply unit (PSU). To determine if the PSU is functioning correctly, follow these steps:
Perform the Paperclip Test:
- Unplug the Power Supply: Before you start, ensure that the PSU is completely disconnected from the wall outlet and all components. Safety is crucial, so take this precaution seriously.
- Locate the 24-Pin Connector: Find the large 24-pin connector that attaches to the motherboard. This connector is essential for powering the motherboard.
- Insert a Paperclip: Take a standard paperclip and straighten it out. Insert one end of the paperclip into the green pin (usually pin 16) of the 24-pin connector, and the other end into any of the black ground pins (pin 15 or any other black pin). This creates a loop that tricks the PSU into thinking it’s connected to a motherboard.
- Reconnect the PSU to Power: Plug the power supply back into the wall outlet without connecting it to the motherboard. Turn on the switch at the back of the PSU, if it has one.
- Check for Fan Movement: Observe the PSU fan. If it spins up, this indicates that the power supply is functioning. However, this test only confirms that the power supply can turn on and is not a full verification of its performance.
While the Paperclip Test is a useful initial check, it does not guarantee that the power supply is delivering stable or adequate voltage to all components. For a thorough diagnosis, consider using a multimeter to measure the output voltage of the PSU.
Common Indicators of a Faulty Motherboard:
Understanding the signs of a malfunctioning motherboard can greatly assist in troubleshooting. Here are some common indicators to watch for:
No LED Lights or Beeps:
If your motherboard shows no signs of life, such as illuminated LED lights or audible beeps when powered on, it may be faulty. This lack of response could indicate a complete failure of the motherboard or issues with the power supply. Conduct thorough checks to rule out other components before concluding that the motherboard is the issue.
Frequent Short Circuits:
Experiencing frequent short circuits during testing is a significant warning sign. If the system repeatedly shuts down or fails to boot without obvious reasons, the motherboard may have internal damage or exposed circuitry. These short circuits can lead to further complications, potentially damaging other components. It’s crucial to diagnose the source of the shorts before continuing to use the motherboard.
Unusual Burn Smells or Heat:
If you notice a burning smell or excessive heat emanating from your motherboard, this is a serious concern. Such signs often indicate internal failures, including damaged components or short circuits. Continuing to operate a motherboard exhibiting these symptoms can lead to irreversible damage and may pose safety risks. If you encounter these signs, cease use immediately and consider professional evaluation.
Physical Damage:
Visible signs of physical damage on the motherboard, such as burnt marks, cracked circuits, or broken components, clearly indicate that it might be unusable. Even minor cosmetic damage can lead to significant functional issues over time. If you observe any visible problems, it is often best to replace the motherboard to ensure the stability and reliability of your system.If your motherboard shows any of these signs, it might be time to consider a replacement to avoid further complications.
FAQ’S
1. Can you test a motherboard without a CPU?
Yes, you can test a motherboard without a CPU by checking power indicators and listening for beep codes to assess functionality.
2. What tools are needed to test a motherboard?
Required tools include a power supply unit (PSU), screwdriver, and optionally, a speaker and antistatic wristband to ensure safe testing procedures.
3. How can I tell if my motherboard is receiving power?
You can confirm power by observing LED lights on the motherboard; if they illuminate, the motherboard is receiving power correctly.
4. What does it mean if there are no beep codes?
No beep codes indicate potential issues with the motherboard or power supply. Further testing is necessary to diagnose the specific problem.
5. What are signs of a faulty motherboard?
Common signs include no power indicators, frequent short circuits, unusual smells or heat, and visible damage like burnt marks or cracked components.
Conclusion
In conclusion, testing a motherboard without a CPU is crucial for troubleshooting. By connecting a power supply and using a screwdriver, you can observe LED indicators and listen for beep codes to assess basic functionality. This initial testing can reveal issues like faulty power connections or damaged circuits, helping you confirm the motherboard’s status before investing in a new CPU or components.


