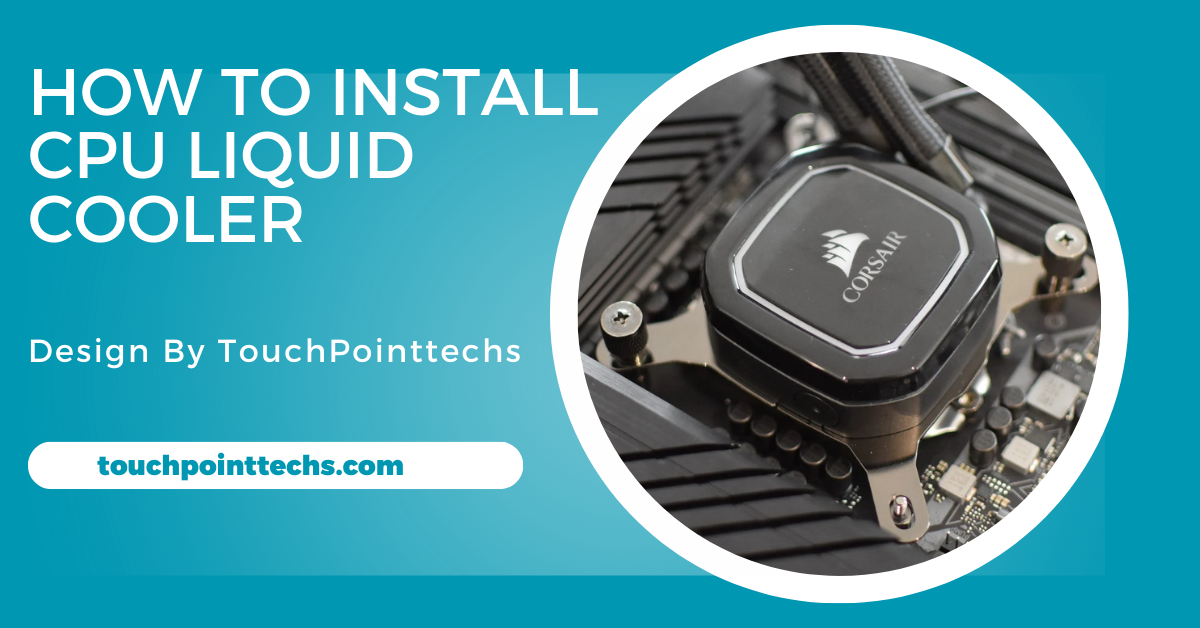
How To Install Cpu Liquid Cooler – Installing A Cpu Liquid Cooler Step By Step!
To install a CPU liquid cooler, prepare your workspace, gather necessary tools, and follow step-by-step instructions for optimal performance and cooling efficiency.
In this guide, we will provide step-by-step instructions on how to install a liquid cooler properly. This guide is designed for all levels of experience, using simple language to ensure that everyone can follow along.
Table of Contents
What is a CPU Liquid Cooler?
A CPU liquid cooler is a cooling system designed to dissipate heat from a computer’s central processing unit (CPU) using liquid, typically water. Unlike traditional air coolers that rely on metal heat sinks and fans, liquid coolers offer superior cooling efficiency. This enhanced performance helps maintain optimal CPU temperatures, especially during intense gaming or heavy computational tasks.
Components of a Liquid Cooler:
Water Block:
The water block is a crucial component that sits directly on the CPU, absorbing heat generated during operation. It contains channels for the coolant to flow through, maximizing heat transfer efficiency. Proper contact between the water block and CPU is essential to ensure optimal cooling performance, preventing overheating during intensive tasks.
Radiator:
The radiator plays a vital role in dissipating heat from the liquid coolant into the surrounding air. Typically equipped with fans, the radiator increases airflow to enhance heat exchange. The size and number of radiator fans can significantly affect cooling efficiency. A well-ventilated case helps the radiator function optimally.
Pump:
The pump circulates the coolant between the water block and radiator, ensuring consistent flow throughout the cooling system. Its efficiency directly impacts the overall performance of the liquid cooler. A high-quality pump can maintain effective cooling even under heavy loads, keeping the CPU temperature in check during demanding tasks.
Coolant:
The coolant is the liquid used in the cooling system, typically a mixture of water and anti-corrosive additives. This mixture helps transfer heat away from the CPU while preventing corrosion within the system. Regular maintenance and monitoring of coolant levels are essential to ensure effective cooling and prolong the life of the liquid cooler.
Tools You Will Need:
- Liquid CPU Cooler: Ensure compatibility with your CPU and motherboard for optimal cooling efficiency. A proper fit enhances performance, especially for high-performance systems, preventing overheating during intensive tasks.
- Thermal Paste: Essential for efficient heat transfer from the CPU to the cooler. A thin layer minimizes heat buildup, and replacing old thermal paste ensures optimal performance during demanding applications.
- Screwdriver: A Phillips-head screwdriver is necessary for installation. Use the correct size to avoid damaging screws. A sturdy screwdriver facilitates secure fastening of the cooler to the motherboard.
- Cleaning Cloth: Use a cleaning cloth to remove old thermal paste from the CPU. A clean surface enhances heat transfer and cooling performance, promoting optimal system function and longevity through regular maintenance.
Anti-Static Wrist Strap (Optional):
Wearing an anti-static wrist strap protects sensitive components from static electricity during installation. This simple precaution helps prevent damage, ensuring a safer and more efficient computer-building process.
Preparing for Installation:
Step 1: Turn Off Your Computer
- Ensure your computer is completely powered down.
- Unplug it from the power source to avoid any electrical issues during installation. This step is crucial for your safety and the integrity of your components.
Step 2: Open the Computer Case
- Use a screwdriver to remove the screws securing the side panel of your computer case.
- Carefully slide off the panel to gain access to the internal components. This step is essential for reaching the CPU and installing the cooler effectively.
Step 3: Remove the Old Cooler (if applicable)
Disconnect the Power Cable:
- Locate the power cable connected to your old cooler and unplug it from the motherboard.
- This ensures that the cooler does not receive power while you work on it, preventing potential electrical issues.
Remove the Cooler:
- Unscrew or unclip the old cooler from the CPU socket.
- You may need to twist it gently to break the seal of the old thermal paste. Take care not to apply too much force, as this could damage the CPU.
Step 4: Clean the CPU Surface
- Before installing the new cooler, cleaning the CPU surface is essential for optimal heat transfer.
- Use a cleaning cloth to gently wipe away any leftover thermal paste from the CPU.
- For more effective cleaning, you can apply a small amount of rubbing alcohol to the cloth.
- Ensure that the CPU surface is completely dry before proceeding to the next steps. This will help the new thermal paste adhere properly and improve cooling efficiency.
Installing the Liquid Cooler:
Step 1: Apply Thermal Paste
Begin by applying thermal paste to ensure optimal cooling performance. Squeeze a pea-sized amount of thermal paste directly onto the center of the CPU. You can either spread it evenly with a plastic tool or let the cooler spread it upon installation. Avoid excessive paste, as it can hinder thermal conductivity and cooling efficiency.
Step 2: Attach the Water Block
Carefully position the water block over the CPU, ensuring it aligns with the motherboard’s mounting holes. Use the screws or clips provided with your liquid cooler to secure the water block firmly. Tighten the screws evenly for a good seal, but be cautious not to overtighten, as this could damage the CPU or motherboard.
Step 3: Install the Radiator
Select an appropriate location for the radiator, typically the top or front of the computer case. Use screws to securely mount the radiator, ensuring it is positioned for optimal airflow. If your radiator has multiple fans, make sure they are oriented to pull air through the radiator rather than pushing it out, enhancing cooling efficiency.
Step 4: Connect the Fans
Attach any fans included with your liquid cooler to the radiator, ensuring they are properly oriented to facilitate airflow. Once attached, connect the fan cables to the appropriate headers on the motherboard, typically labeled “CPU_FAN” or “SYS_FAN.” This connection allows the motherboard to regulate fan speeds based on the CPU’s temperature.
Step 5: Connect the Pump
Locate the pump cable responsible for circulating coolant within the system. Connect this cable to the designated header on the motherboard, usually labeled “CPU_PUMP.” This connection is crucial for ensuring that the pump operates effectively when the computer is powered on, maintaining proper coolant flow and temperature regulation.
Step 6: Check for Clearance
Before closing your computer case, verify that there is sufficient space around the cooler and radiator to allow for optimal airflow. Inspect the interior to ensure that no cables are obstructing the fans or pump. This precaution helps prevent overheating and ensures your cooling system operates efficiently during use.
Testing Your Installation:
Step 1: Turn on Your Computer
Power on your computer and observe the fans. They should start spinning, and the pump should produce a low humming sound.
Step 2: Monitor Temperatures
Once your operating system is running, monitor the CPU temperatures using software tools like HWMonitor, Core Temp, or the built-in tools in your motherboard’s BIOS. Check that the temperatures are within the normal range. Ideally, the CPU temperature should stay below 80°C under load for optimal performance.
Step 3: Check for Leaks (if applicable)
If you installed an all-in-one (AIO) liquid cooler, it should not leak. However, it’s wise to double-check the connections and fittings for any signs of liquid. If you see any leaks, power down your system immediately and address the issue before using your computer.
Maintenance Tips for Your Liquid Cooler:
To keep your liquid cooler functioning optimally, consider the following maintenance tips:
- Regularly Check Fluid Levels: If you have a custom liquid cooling system, check the coolant level periodically and refill it as necessary. Low coolant levels can reduce cooling efficiency.
- Clean the Radiator: Dust can accumulate on the radiator over time. Periodically clean it using compressed air to ensure good airflow. This will help maintain efficient cooling performance.
- Monitor Performance: Use temperature monitoring software to keep an eye on CPU temperatures. If you notice a rise in temperatures over time, it may be time to clean or maintain your cooler.
FAQ’s
1. What is a CPU liquid cooler?
A CPU liquid cooler is a cooling system that uses liquid, typically water, to dissipate heat from the CPU, providing better cooling efficiency than traditional air coolers.
2. What tools do I need to install a liquid cooler?
You will need a liquid CPU cooler, thermal paste, a Phillips-head screwdriver, a cleaning cloth, and optionally an anti-static wrist strap to protect sensitive components.
3. How do I apply thermal paste?
Squeeze a pea-sized amount of thermal paste onto the center of the CPU. You can spread it evenly with a tool or allow the cooler to spread it upon installation.
4. What should I check after installing the cooler?
After installation, ensure the fans and pump are functioning, monitor CPU temperatures to ensure they are within the normal range, and check for any leaks in the system.
5. How can I maintain my liquid cooler?
Regularly check fluid levels, clean the radiator to remove dust, and monitor CPU temperatures to ensure the cooling system is performing efficiently.
Conclusion
In conclusion, installing a CPU liquid cooler significantly enhances cooling performance and efficiency for demanding tasks. By following the step-by-step instructions and ensuring proper installation, users can maintain optimal CPU temperatures and a quieter operating environment. Regular maintenance and monitoring will further ensure the longevity and effectiveness of the liquid cooling system.


